
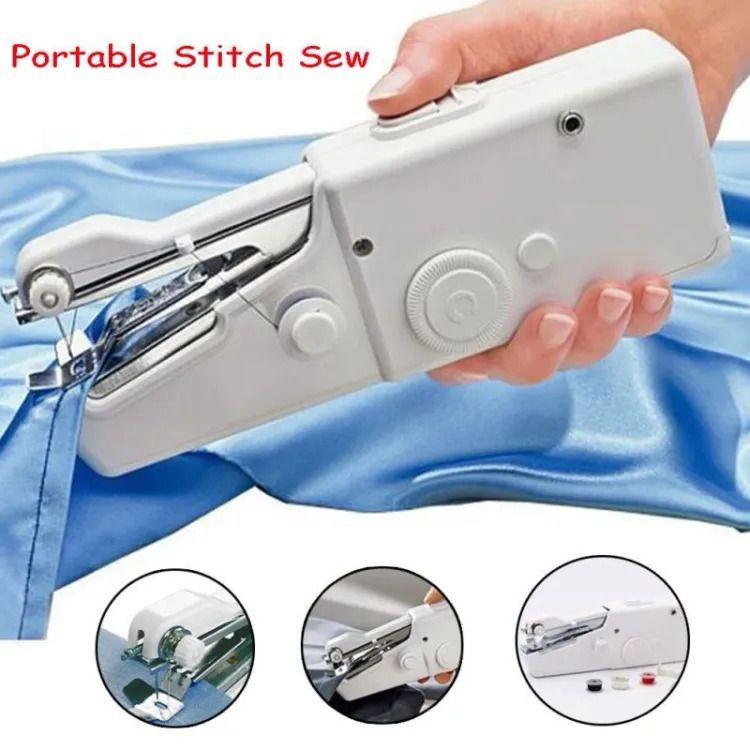
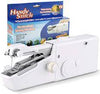
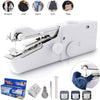
Portable Handy Sew Clothes Stitch Machine

![]()

![F2 Mobile Phone Screen Magnifier RGshop]()
![M11 MINI wireless Bluetooth Headset V5.0 with good Battery timing RGshop]()

![Trendy Portable & Rechargable Cosmetic Box RGshop]()
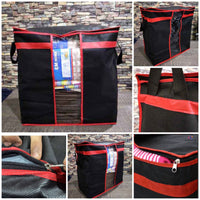
![Pack of 2 Foldable Storage Bag. Big Size Good Quality. RGshop]()

![Spin Mop with Bucket]()

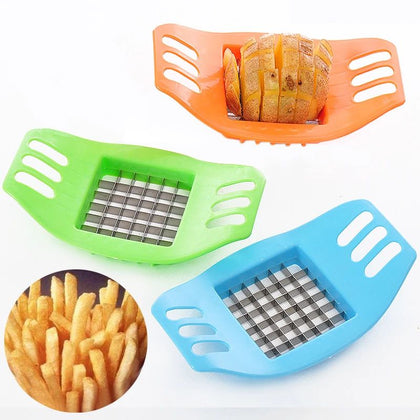
![stainless steel potato cutter]()

![Portable Handy Sew Clothes Stitch Machine]()
![Portable Handy Sew Clothes Stitch Machine]()
![Portable Handy Sew Clothes Stitch Machine]()

![Portable Handy Sew Clothes Stitch Machine]()
![Portable Handy Sew Clothes Stitch Machine]()

![Portable Handy Sew Clothes Stitch Machine]()

![Portable Handy Sew Clothes Stitch Machine]()
![Portable Handy Sew Clothes Stitch Machine]()


Latest Products


-35%


Portable Handy Sew Clothes Stitch Machine
Available:In Stock
Rs.1,299.00
Rs.1,999.00
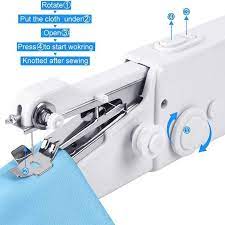
- Note: Operate the machine for 10 seconds, and then pause for 5 seconds. It can then be used again regularly.
- 1. Make sure the machine is in the locked position (see diagram on reverse side under “To Replace Batteries’). Raise the needle arm to the highest position by turning the rotary wheel.
- Note: The rotary wheel can be turned in either direction (see diagram #1).
- 2. Lift up the fastening plate making sure not to push down on the needle arm (the arm can still be moved manually even when the machine is in locked position). Place cloth underneath the fastening plate (see diagram #2).
- 3. Pull at least 2 inches of thread through the needle, from back to front, prior to starting to sew.
Related items


Sold Out

Rs.2,600.00
Rs.3,200.00

Rs.1,850.00
Rs.2,250.00


Rs.1,499.00
Rs.2,500.00
Rs.450.00
Rs.650.00